
Recently connected an external drive to your computer and found it working quite slow? Well, we’ve you covered.
Today, it’s been found that external hard drives are becoming slow and unresponsive. For those who know a little about connecting an external hard drive, it is connected to a Windows computer through USB 3.0 port and the hard drive stores data and files large in size. So, when your hard drive starts reacting weirdly or does not function properly, it’s the time when you need to actually worry as your data is at risk.
Wondering, what should you do to speed up your hard drive? Well, we have covered the best ways to resolve the issue in this article. Check this out.
Best Ways To Speed Up Your External Drive On Windows 10
Important: Make sure that your hard drive is connected to the system while you undergo these workarounds. If the drive doesn’t show up, you need to check the cable you’re using to connect the drive.
Fix 1: Defragment External Hard Drive
The first and the best way is to defragment the external hard drive on Windows 10. Defragmenting a hard drive means that the disk reduces the space taken over by the overwritten files or the ones that have been scattered. Defragmentation consolidates the files and creates space for new files and configurations. You can use Windows Disk Defragmentation Tool to defragment your hard drive. Here’s how:
- Ensure your hard drive is connected via USB to Windows computer.
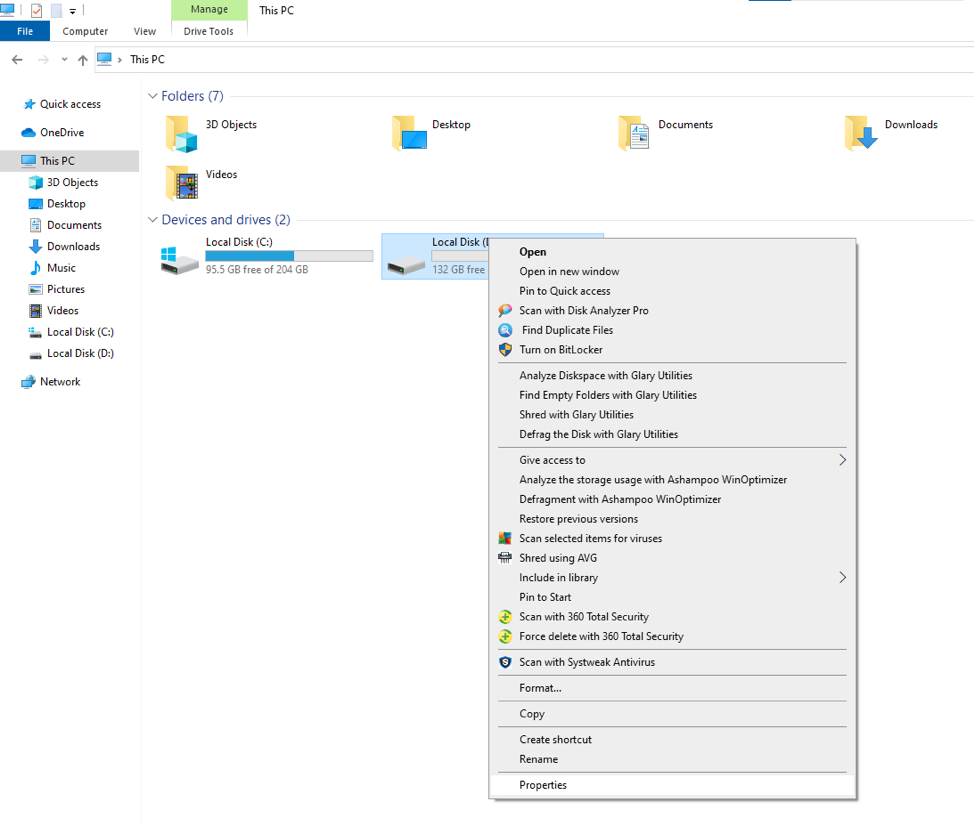
- Head to This PC.
- On the drive representing the external hard disk, right click and choose Properties.
- Head to the Tools tab and then select optimize
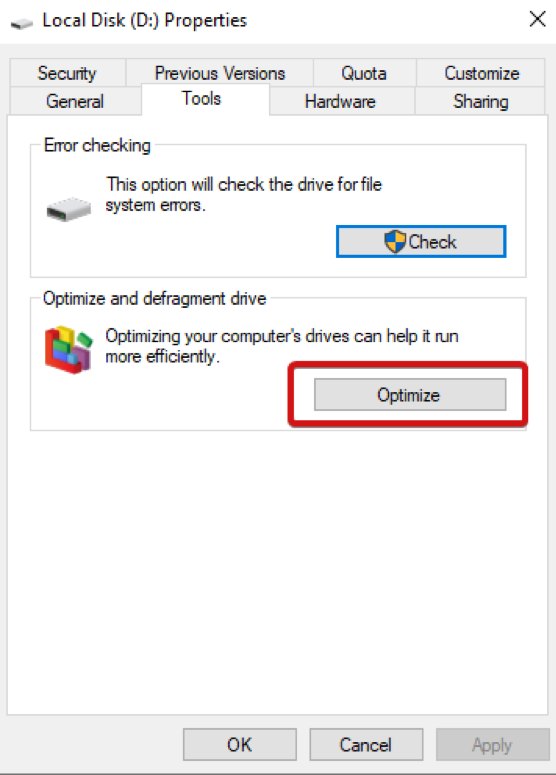
This will begin the defragmentation process and will optimize your drive for faster performance.
Fix 2: Run A Check Disk Scan
If, even after defragmenting your hard drive, there is no improvement, you can choose to run a check disk scan. There are two ways to do this. Let’s check them out.
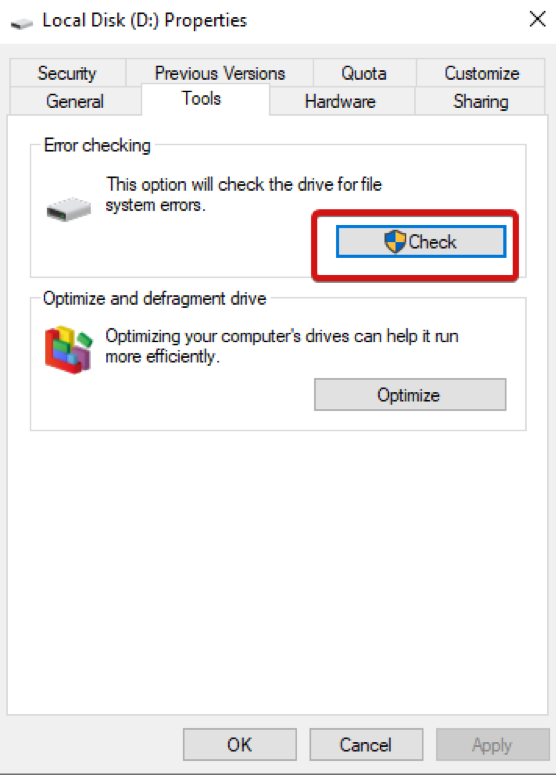
Way 1: Head to This PC and choose the drive representing your hard drive. Choose Properties and then select Check.
Way 2: Run Check Disk scan using Windows PowerShell. For this open Windows PowerShell using the Start Menu and then choose to ‘Run as Administrator’. Now, input chkdsk.exe /f [i.e. drive letter] and hit Enter.
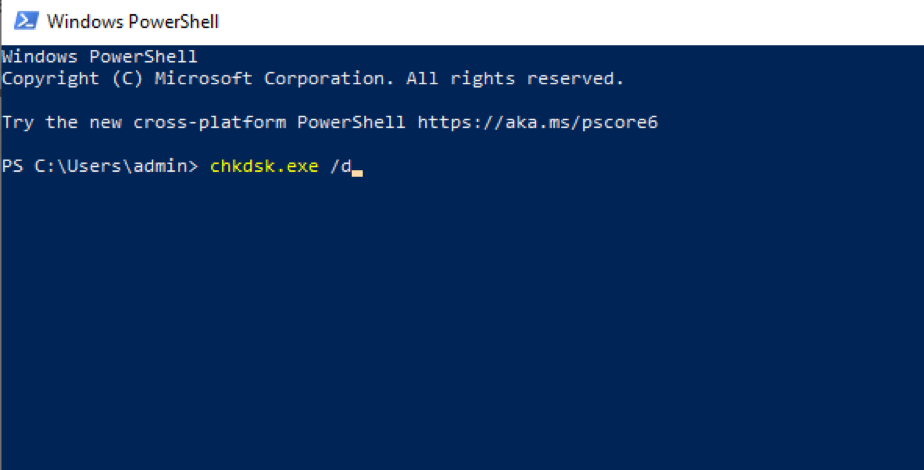
Wait for the PowerShell to run the command and it may require you to reboot your Windows. Ensure you have closed your applications beforehand.
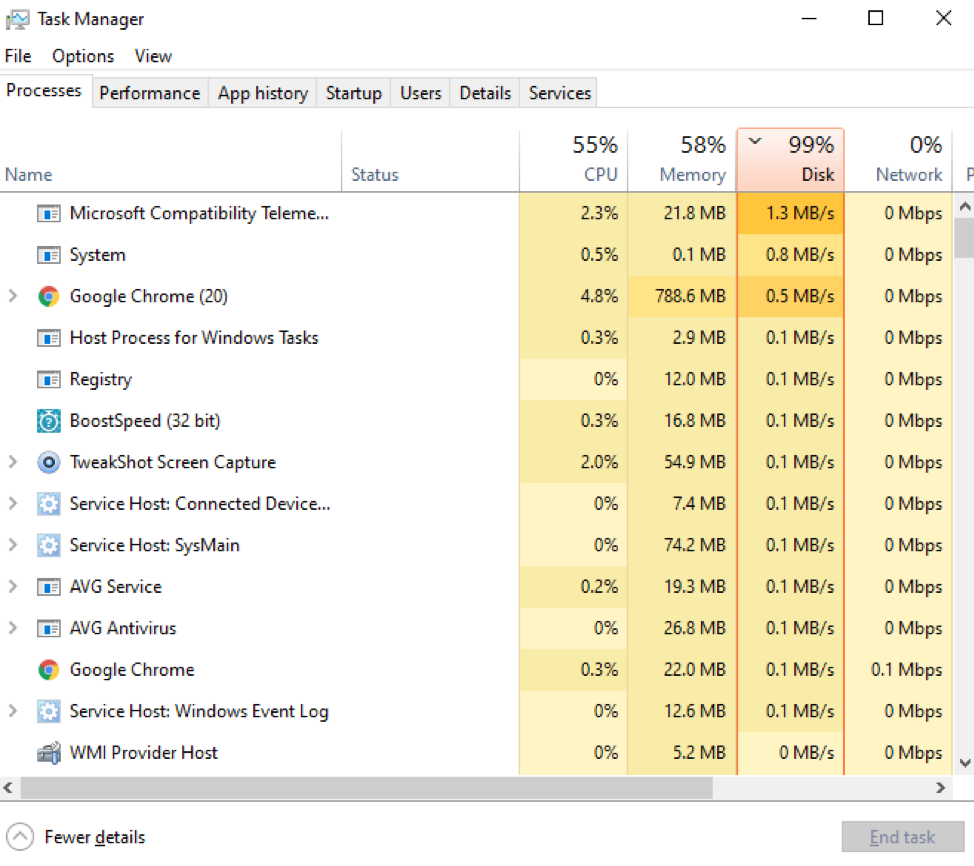
Fix 3: Use Task Manager To Speed Up Hard Drive
A lot of times the disk activity might slow down your hard drive. For this, you can launch Task Manager using Ctrl+Shift+Esc keys together. Then, choose the Disk column. See which app is taking up huge disk space, right-click on it and then choose End Task.
This will hopefully return your drive to its working speed back again.
Fix 4: Check Your Hard Drive for Malware and Viruses
You should always keep an active Antivirus solution on your device to keep it safe. Having a virus or malware can be another reason for your hard drive working slow. You are therefore advised to check for any such threats on your hard drive.
For this, (if you have an antivirus solution installed), follow the steps below:
- Open Windows Explorer.
- Right-click the drive displaying your hard drive.
- Find the antivirus or malware scanning software in the context menu.
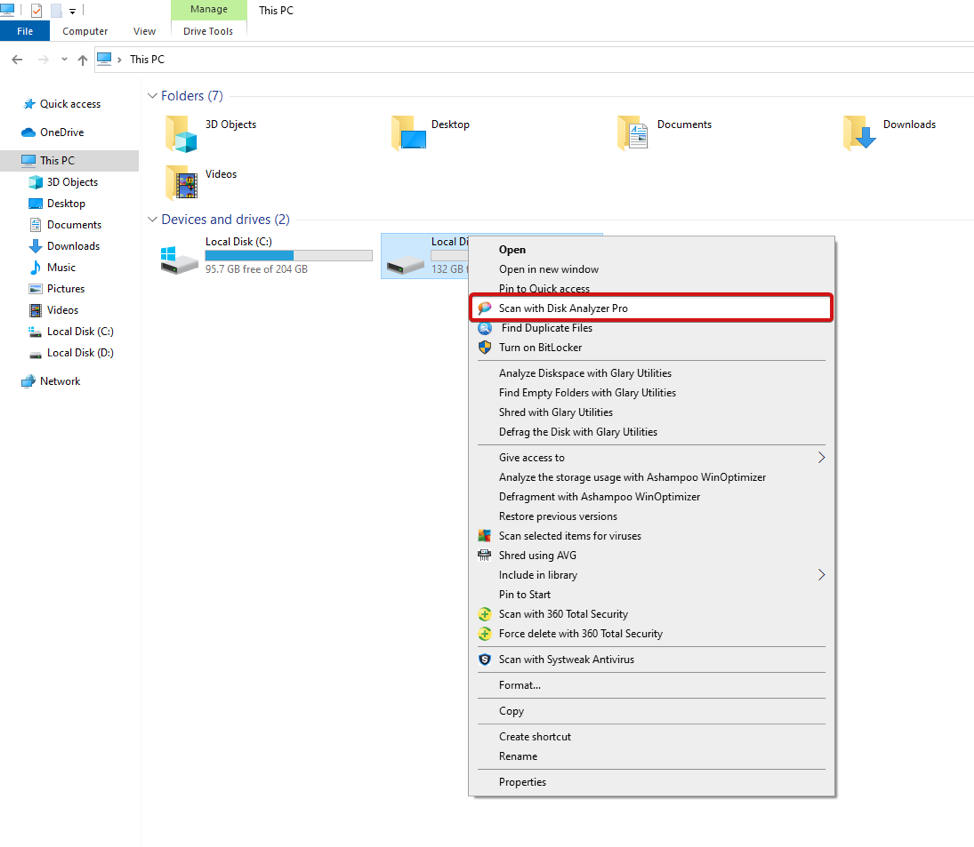
- Select the option to scan the disk.
Otherwise, you can use Windows Defender to check for any security threats on your Windows PC.
Fix 5: Disable Indexing on Windows
Last but not least, disable indexing on your Windows PC. This fix is helpful when you connect your hard drive to your computer and it takes forever to display the contents in Windows Explorer. To disable indexing, follow the steps below:
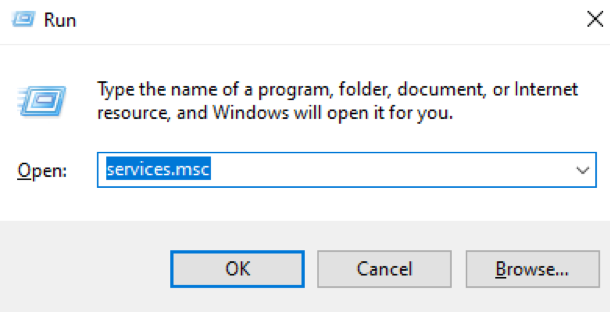
- Press Windows + R to open the Run window.
- Type in “services.msc” and hit Enter.
- On the Services tab, scroll down to Windows Search.
- Right-click on it and open Properties.
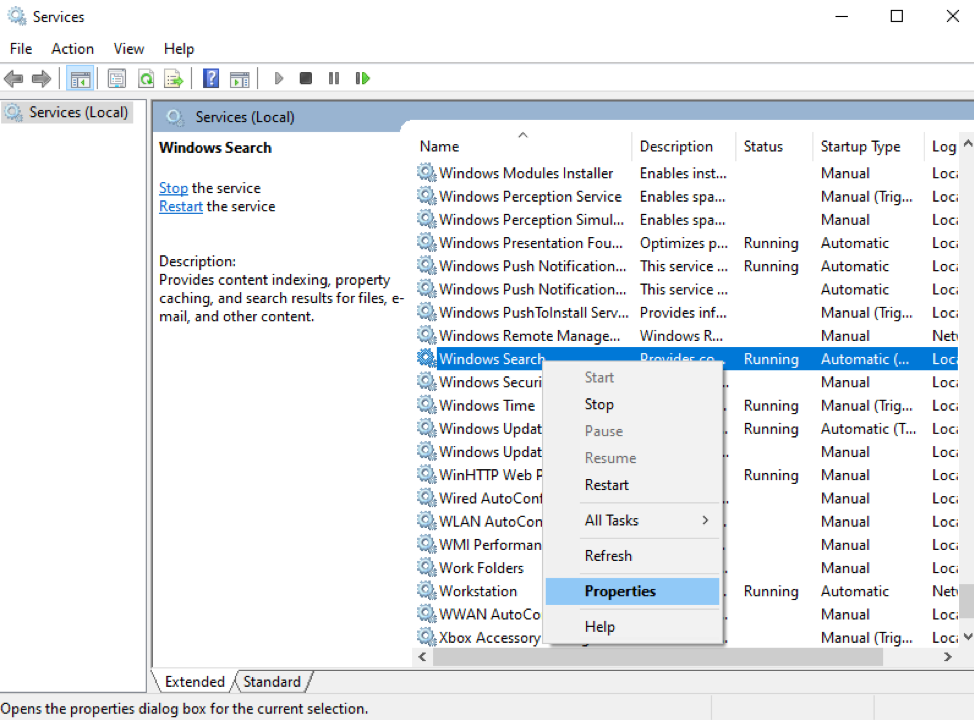
- In the Services window, navigate to the General
- Click Startup type and then choose Disabled from the drop down.

- Click on OK.
Now, disconnect and then reconnect your hard drive to your computer. It should load quickly and perform faster than ever.
Final Words
So, these were some tried and tested ways to speed up an external drive on Windows 10. We hope that these ways explained above must have helped you resolve your external hard drive problems. Do let us know if we were of any help.
Feel free to drop us a note for any queries or suggestions.